Start with a great but safe location. Urban settings with some movement have given many users great photos, what would normally be light pollution becomes the paint on your canvas. Best to not start with the shot over a roundabout, start over a low use park, or water area.
Fail to plan, plan to fail. Visit the site during the day and see what obstacles might be around that  you may not see at night, antennas, wires, trees etc. Look at the weather forecast and choose a day that should be calm winds.
The set up: play with the settings and see what each of them does, remember when testing only change one parameter at a time so you can learn what a change will do. A good baseline start is to set the camera into manual mode. Set the ISO to 100 (maybe 200), higher numbers will lead to image noise. Try setting the white balance to something in the 3000k range or another setting that brings out the blues a bit, in auto your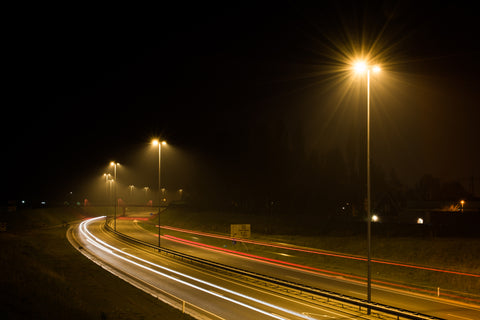 photo will likely be very warm (yellowish). You can adjust further in your photo edit software. Take the photo at about 2-3 seconds shutter speed. trial and error depending on the amount of light you have in the area, but try 1.5-4 seconds and see what works best.
Save the photos at max quality JPG + RAW. Raw is easier to edit in photo software. Take a bunch of photos so you have something to work with, many will be junk. try different angles and bearings as the wind may affect the camera more in one direction then another.
Post process your photos! Change the white balance, crop, hues and saturations. Look up some post processing tutorials for more info. We will post up some of our night photos when they are done in post.
Remember to TURN OFF your drones LED lights if possible, or cover them with black tape. the extra light pollution from the LED may interfere with the shot. You can keep the rear lights on for visual reference.
Happy Shooting!